
How to Run WhatsApp on your PC/Mac using BlueStacks
Hi again,
as always I’m very busy testing things, such as this one I’m going to talk about with you. What my mission was these day was: how to get a fully running WhatsApp on your PC/Mac? Actually officially it is impossible, but using the magic power of Android we can get and accomplish what we are supposed to do. Runing a WhatsApp instance :) So this will be a simple tutorial on how to setup it and how to get working your keyboard whatever your nationality is.
Preamble
The phone number you’re going to use MUST exist and CANNOT be fake (because of the SMS activation that will be sent), and cannot be the same where you’re already using WhatsApp. Two instances of WhatsApp (one on PC and one on your Smartphone) CANNOT CO-EXIST.
Installation
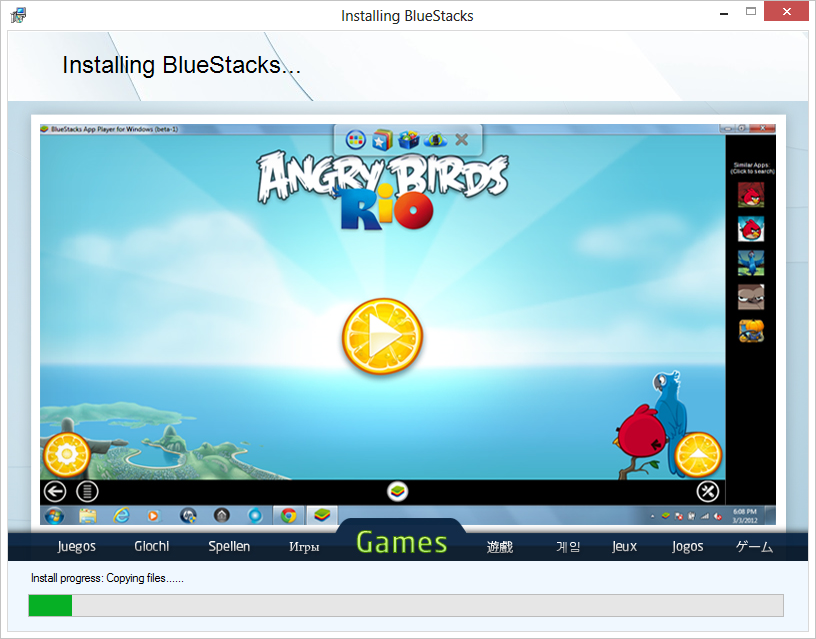
I’ll consider this as a simple task. What you have to do is just download and install the BlueStacks App Player. For anyone who doesn’t know what is it, BlueStacks is just an Android app player, a Virtual Machine wrapped for your PC (or Mac) with which you can run from games to regular apps, for Smartphones and/or tablets.
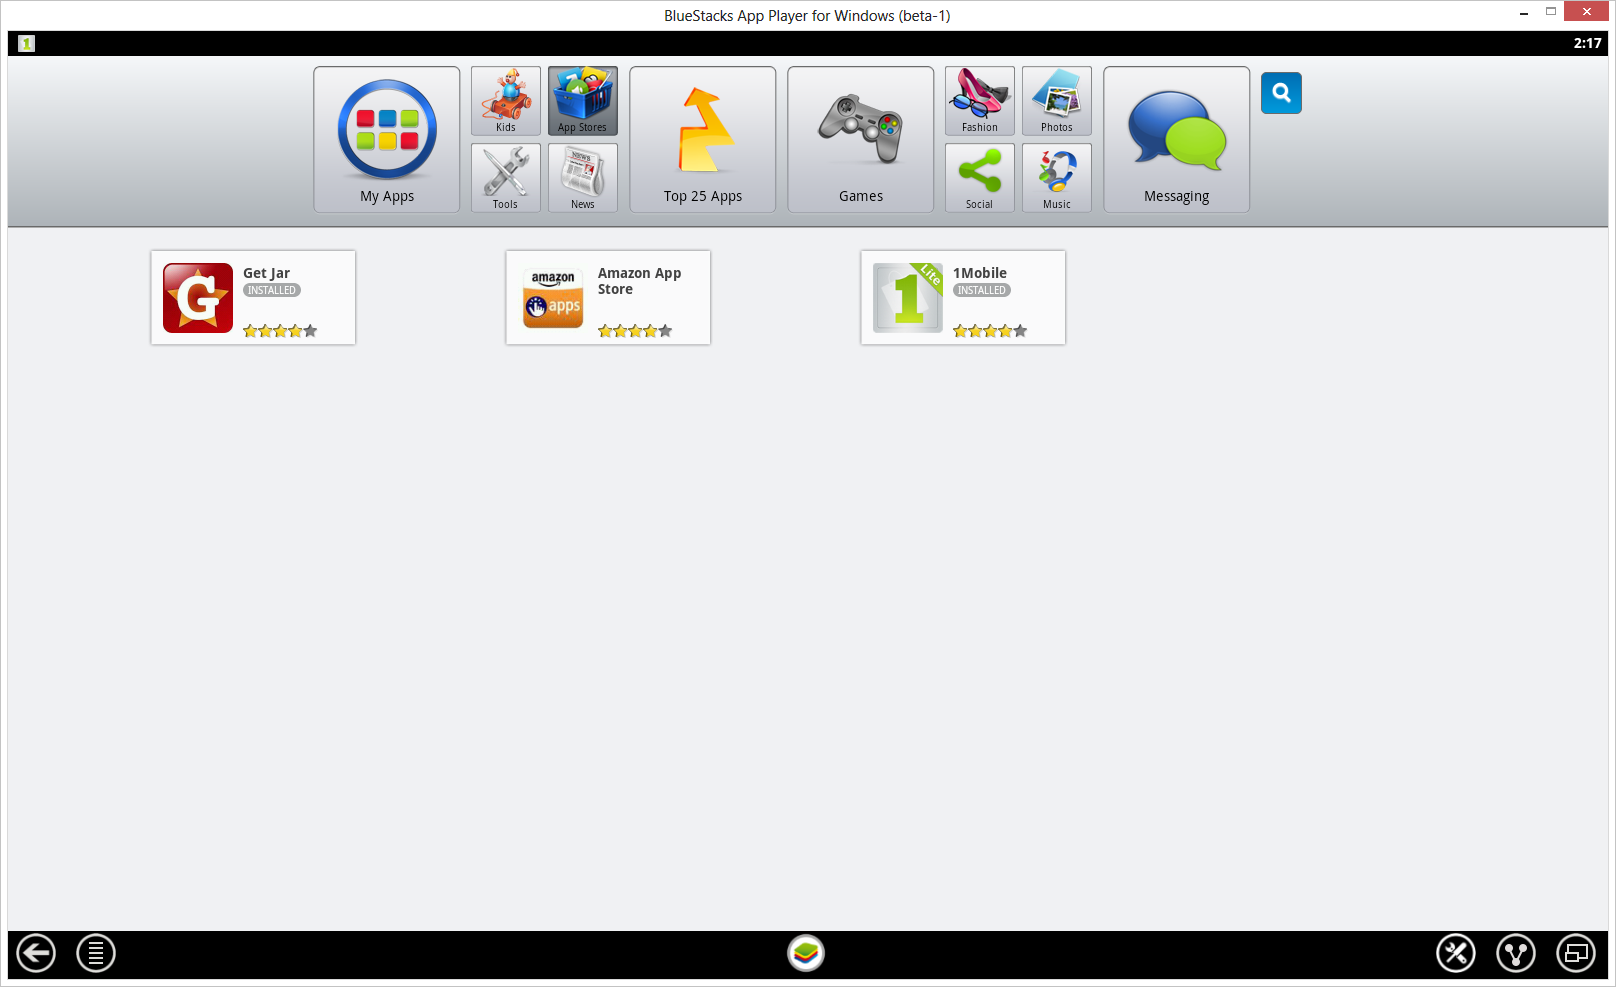
App Stores
After you finish installing it what you have to do is downloading and installing WhatsApp right? But, to accomplish it from any Android Smartphone or Tablet, normally you go to the Play Store and then you search for WhatsApp and after you download and install it. Yeah. pretty the same thing, but here you do not have the Play Store :) Having it means you have been certified from Google, but hey BlueStacks is not a Smartphone or Tablet, so they have to fill the gap, and this is totally done by their 1Mobile Store. You can find it by clicking on “App Stores” on top and after that 1Mobile app.
Download, Install and Configure WhatsApp
So, you opened 1Mobile app store and you found that is pretty similar to Play Store yeah? You’re right :) Go fire the search button in the top-right corner of BlueStacks screen and write inside “WhatsApp” and press Enter. You’ll be returned with a list of apps matching that name, inside of if you’ll find Whatsapp, click on it and then click the Download button.
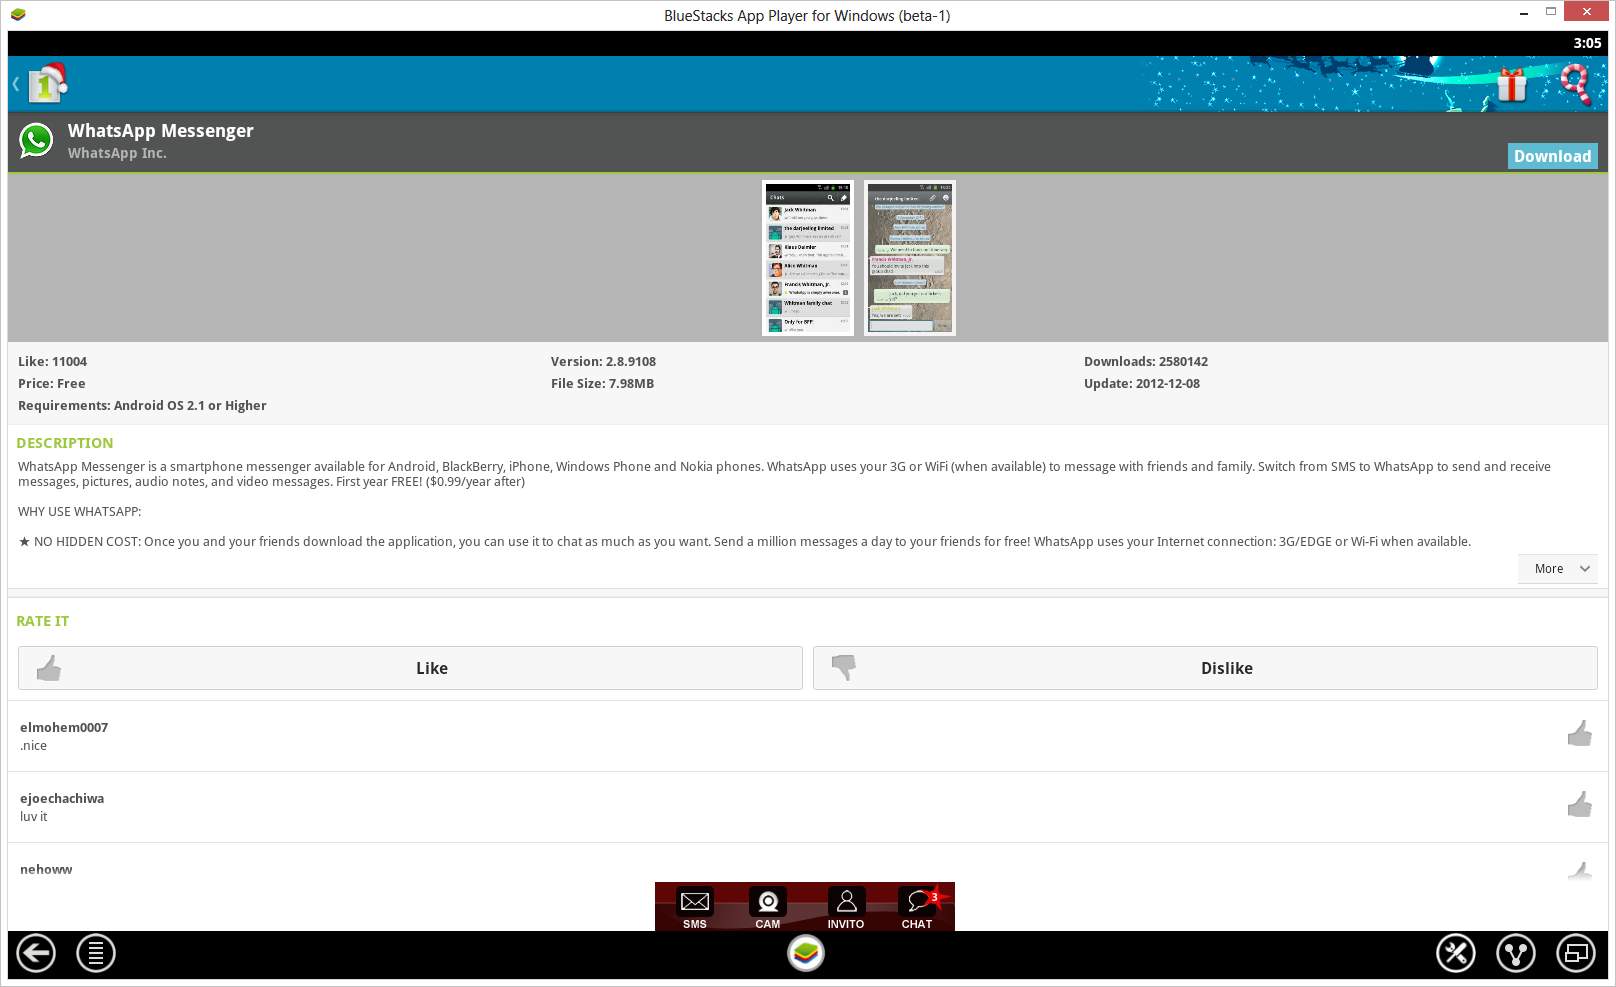
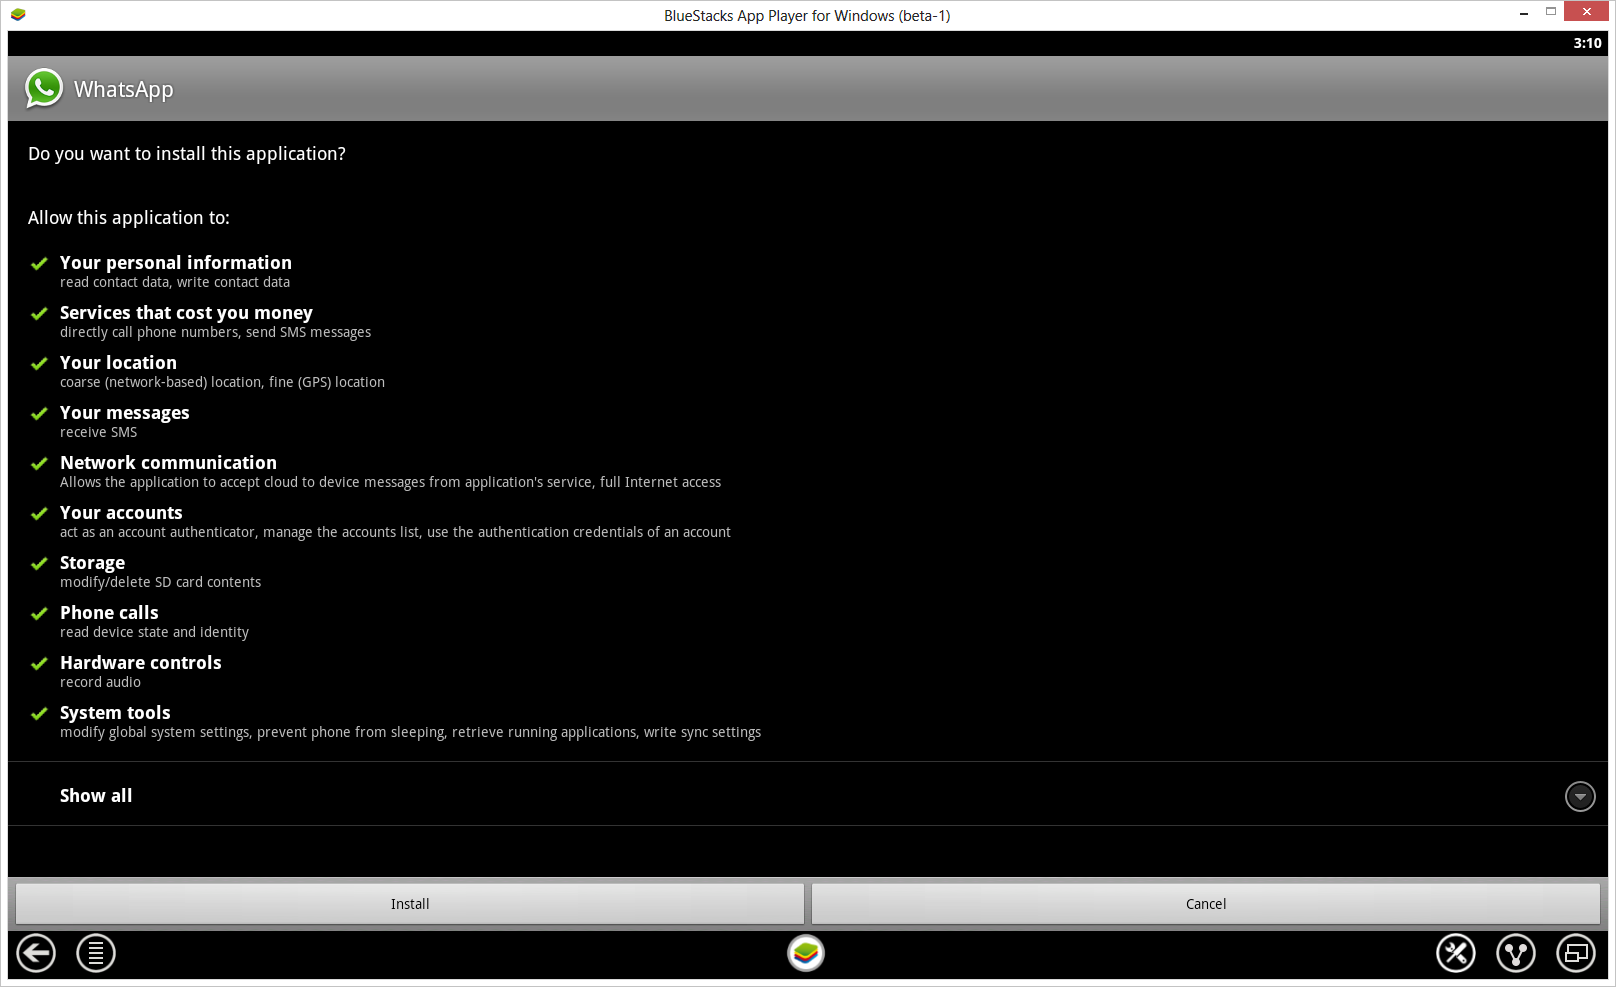
After the download has finished, you will be prompted to install it. Just as usual press the Install button and you’re done.
You finished installing and it and you’re in fact ready to configure it. Insert your phone number, follow activation instructions and you’re done.
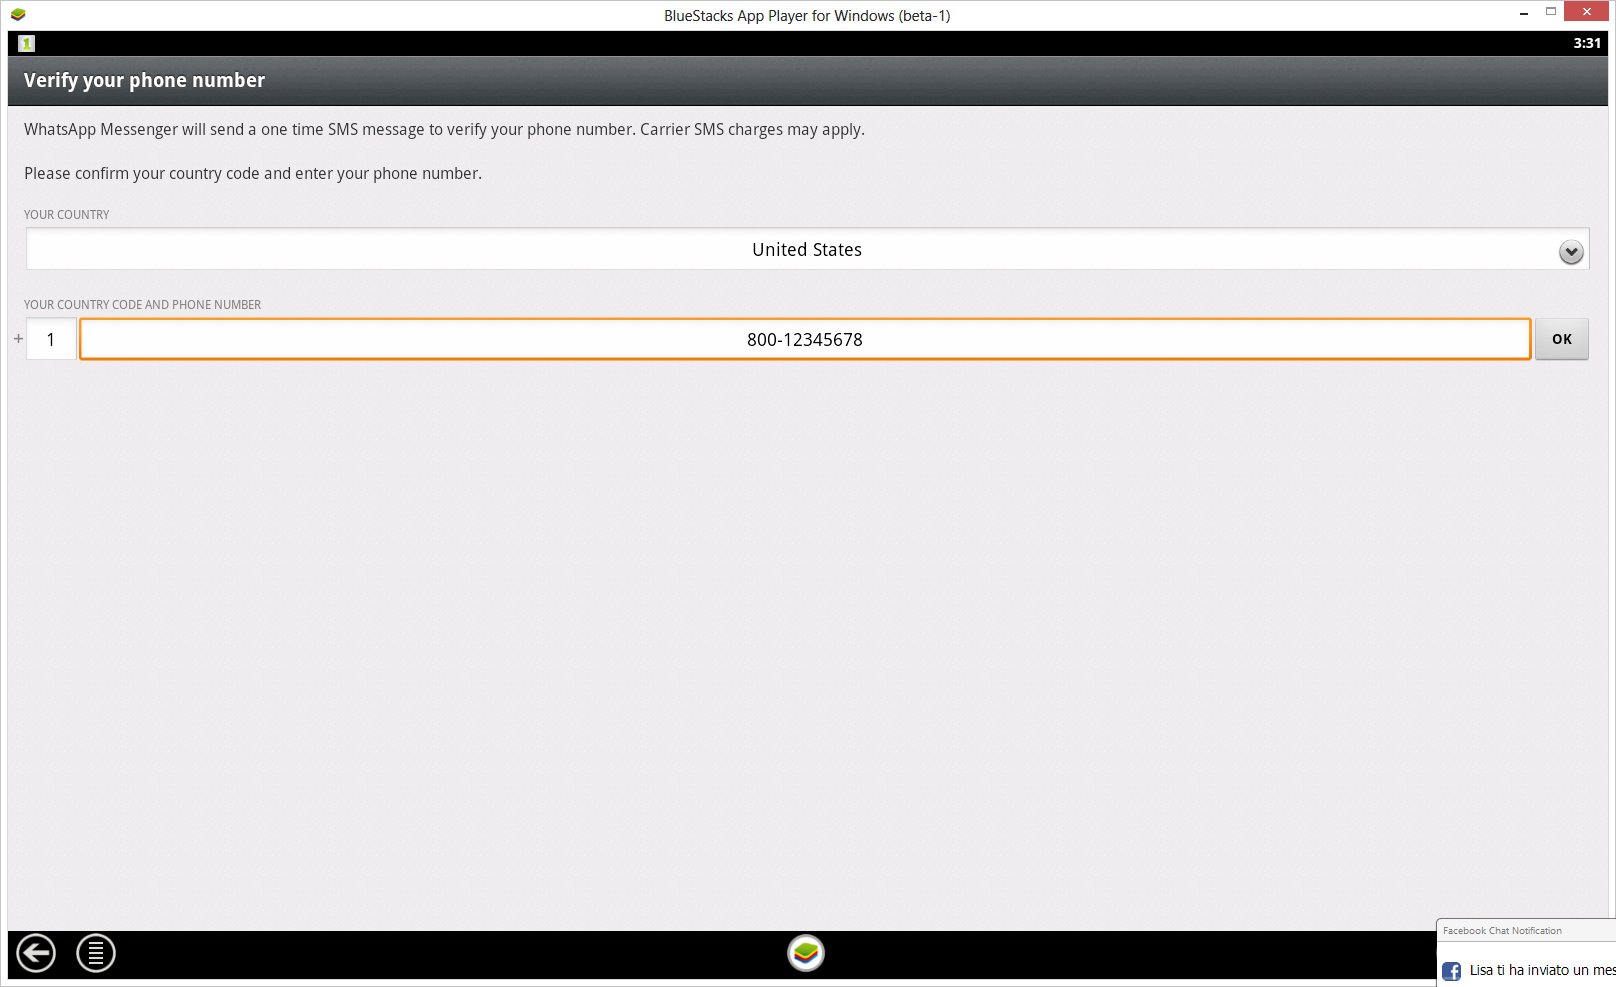
So what you have to do here is just, be sure to use a phone number you’re going to use only from Desktop and to share that number with anyone you care to chat with. In fact, you have to add also this numbers to your Address Book, and you can reach it directly by pressing the Menu button in the bottom-left corner of your BlueStacks screen and than doing Manage Contacts.
(OPTIONAL!) Map your External Keyboard
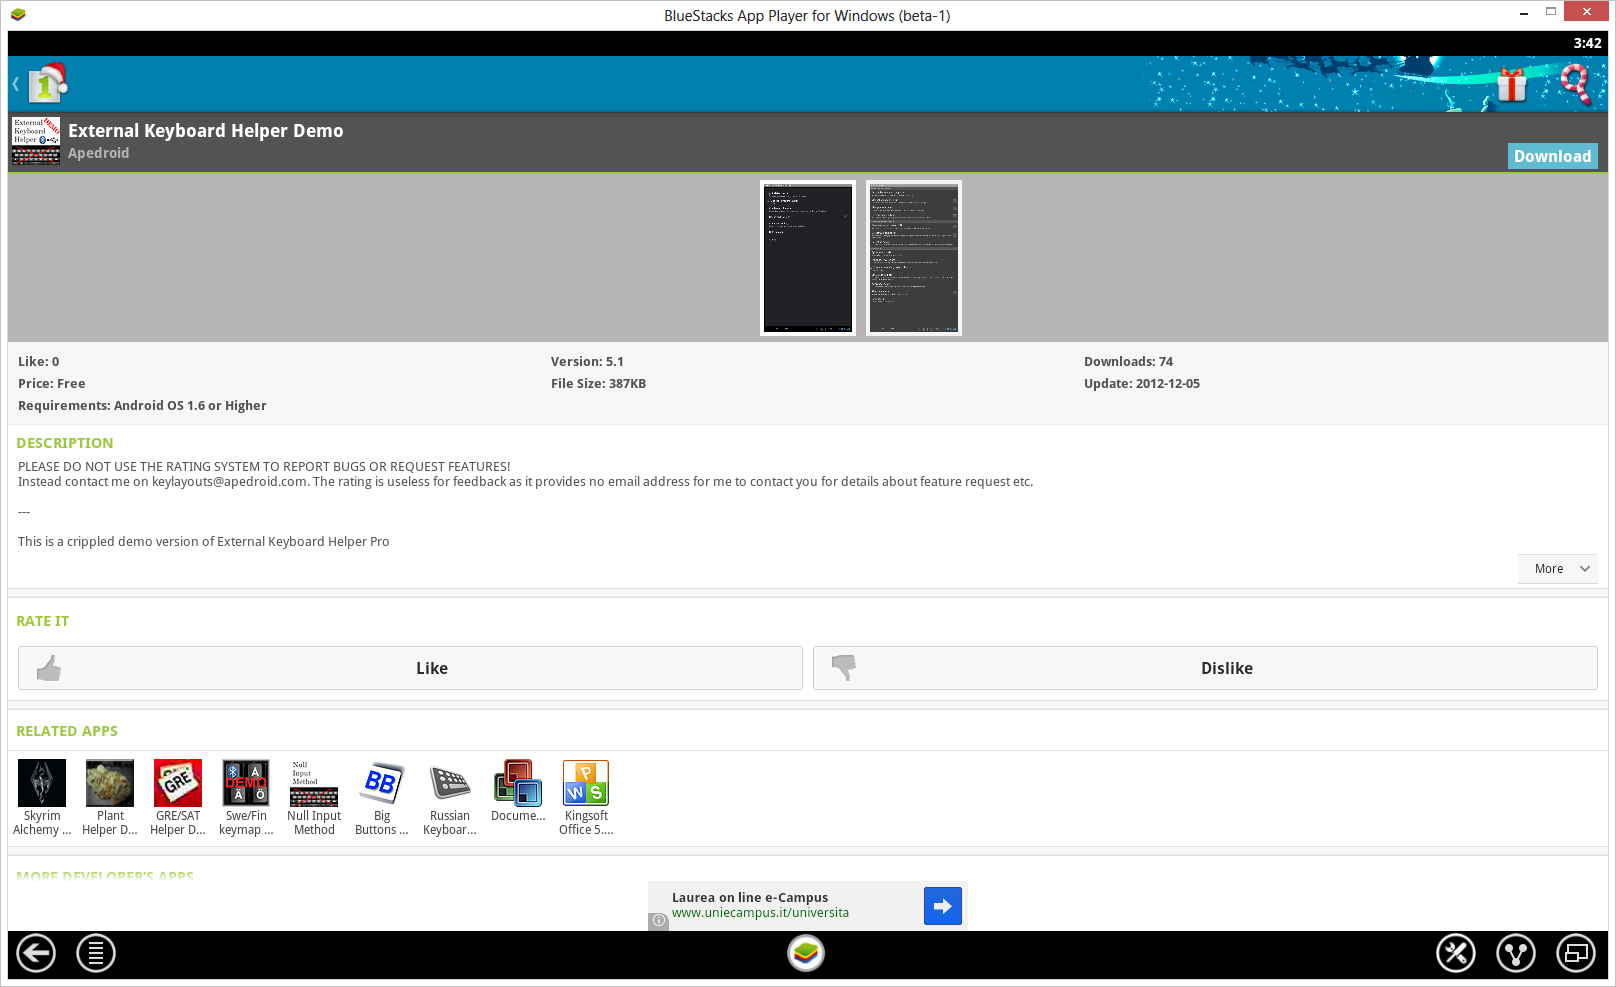
So, you finally reached the way to install and use WhatsApp but you found that your Keyboard is not mapped correctly (pressing ‘è’ will produce ‘[’ and so on). This may happen for example for Italian Keyboards which are NOT implemented by BlueStacks native keyboard mappings. So what you have to do here is simply getting an app from the Store which will do this AUTOMATICALLY for us, but because it’s a paid app, I’m going to explain this using the Demo version: the app is called “External Keyboard Helper Demo”. Its limitation is that when you press the Space Bar it doesn’t make a space but it prints “This is just a Demo” so, to use it fully you have to buy the Pro version.
Open up 1Mobile store and search (as you did already for WhatsApp) for “External Keyboard Helper Demo”.
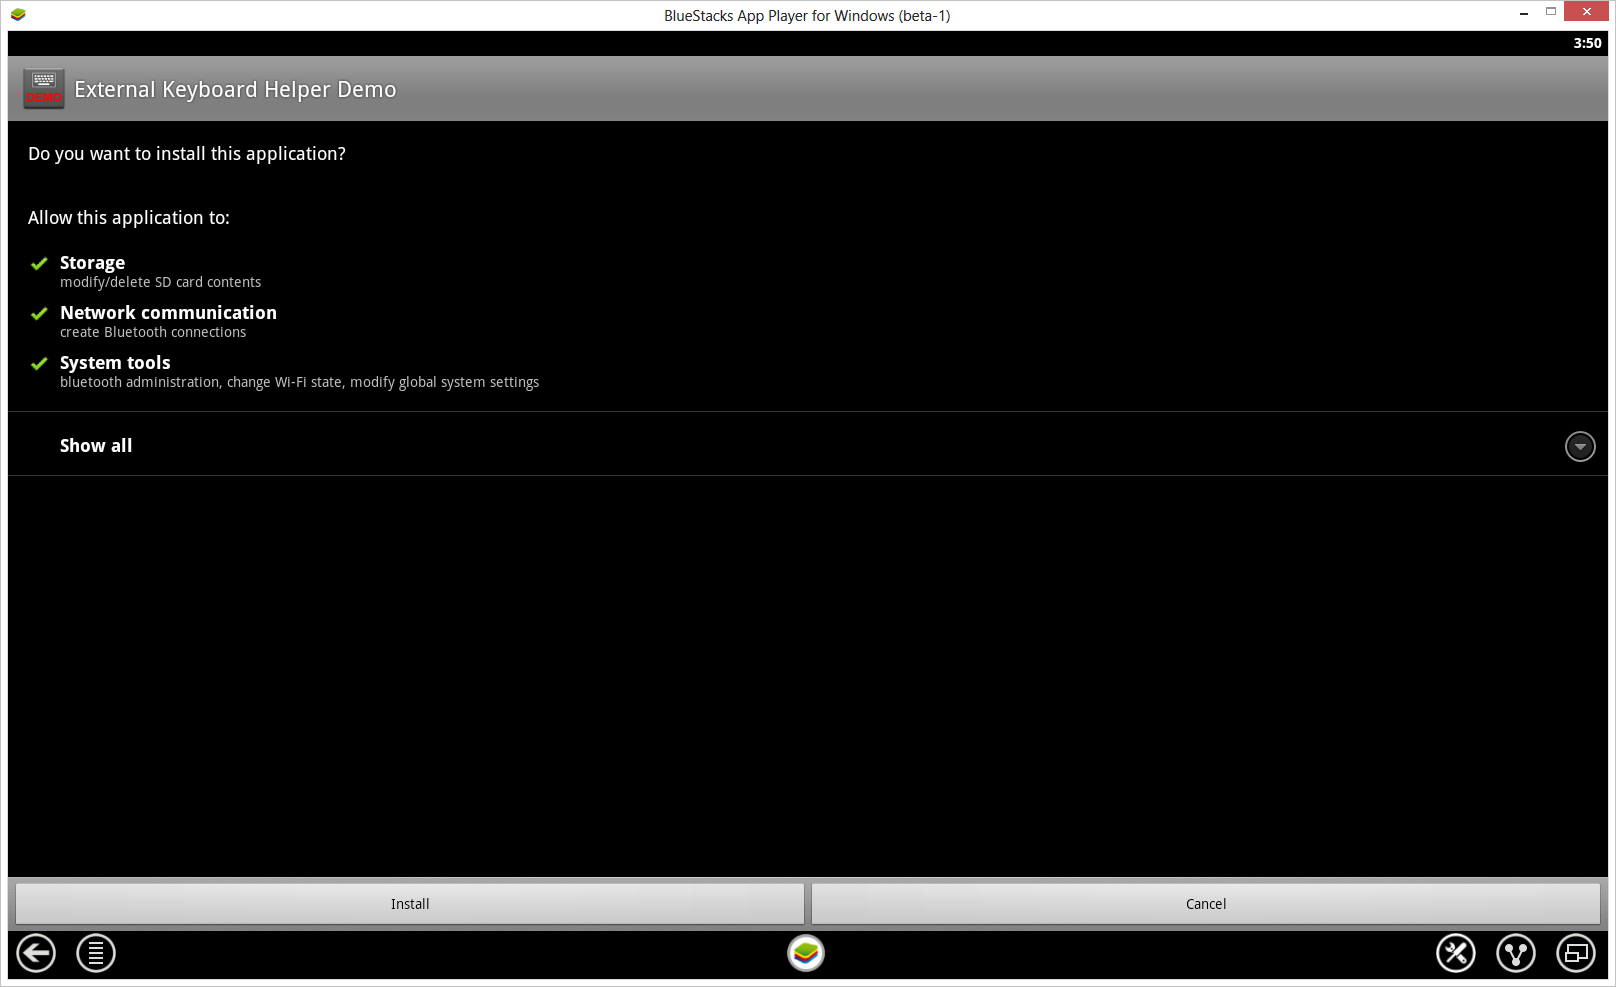
Downoad it and install it as usual by pressing the Install button.
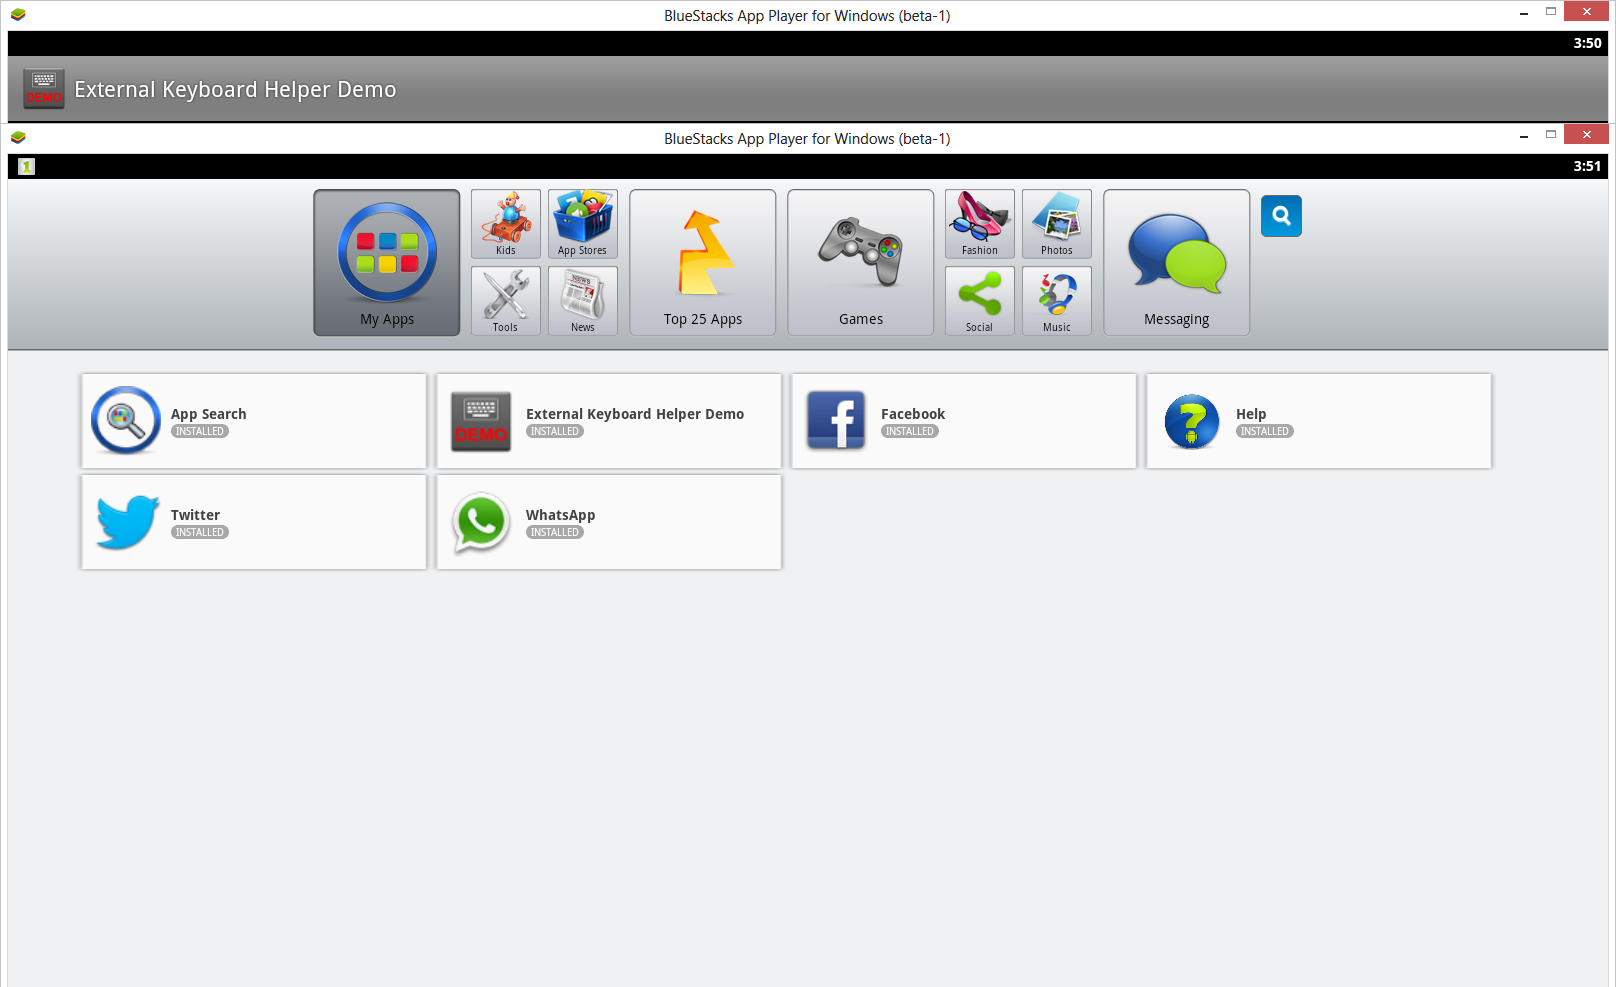
After that you can directly open it or press finish. Let’s say you don’t want to open it now and you want to configure it later. To do that, after you have installed it you can reach the configuration part of this app using two methods: one is simply going into My Apps and clicking over it in the list.
The other way is entering the settings menu by clicking the Settings button on the bottom-right of your BlueStacks screen and then clicking “Change Keyboard Settings”.
After that you have to disable all the other keyboards already installed on BlueStacks my simply unticking the marks on the right and just putting a tick over “External Keyboard Helper Demo”. Be careful that using that app will generate this warning, read it and if you’re satisfied press Ok and then you can use it, otherwise you cannot and you have to uninstall it.
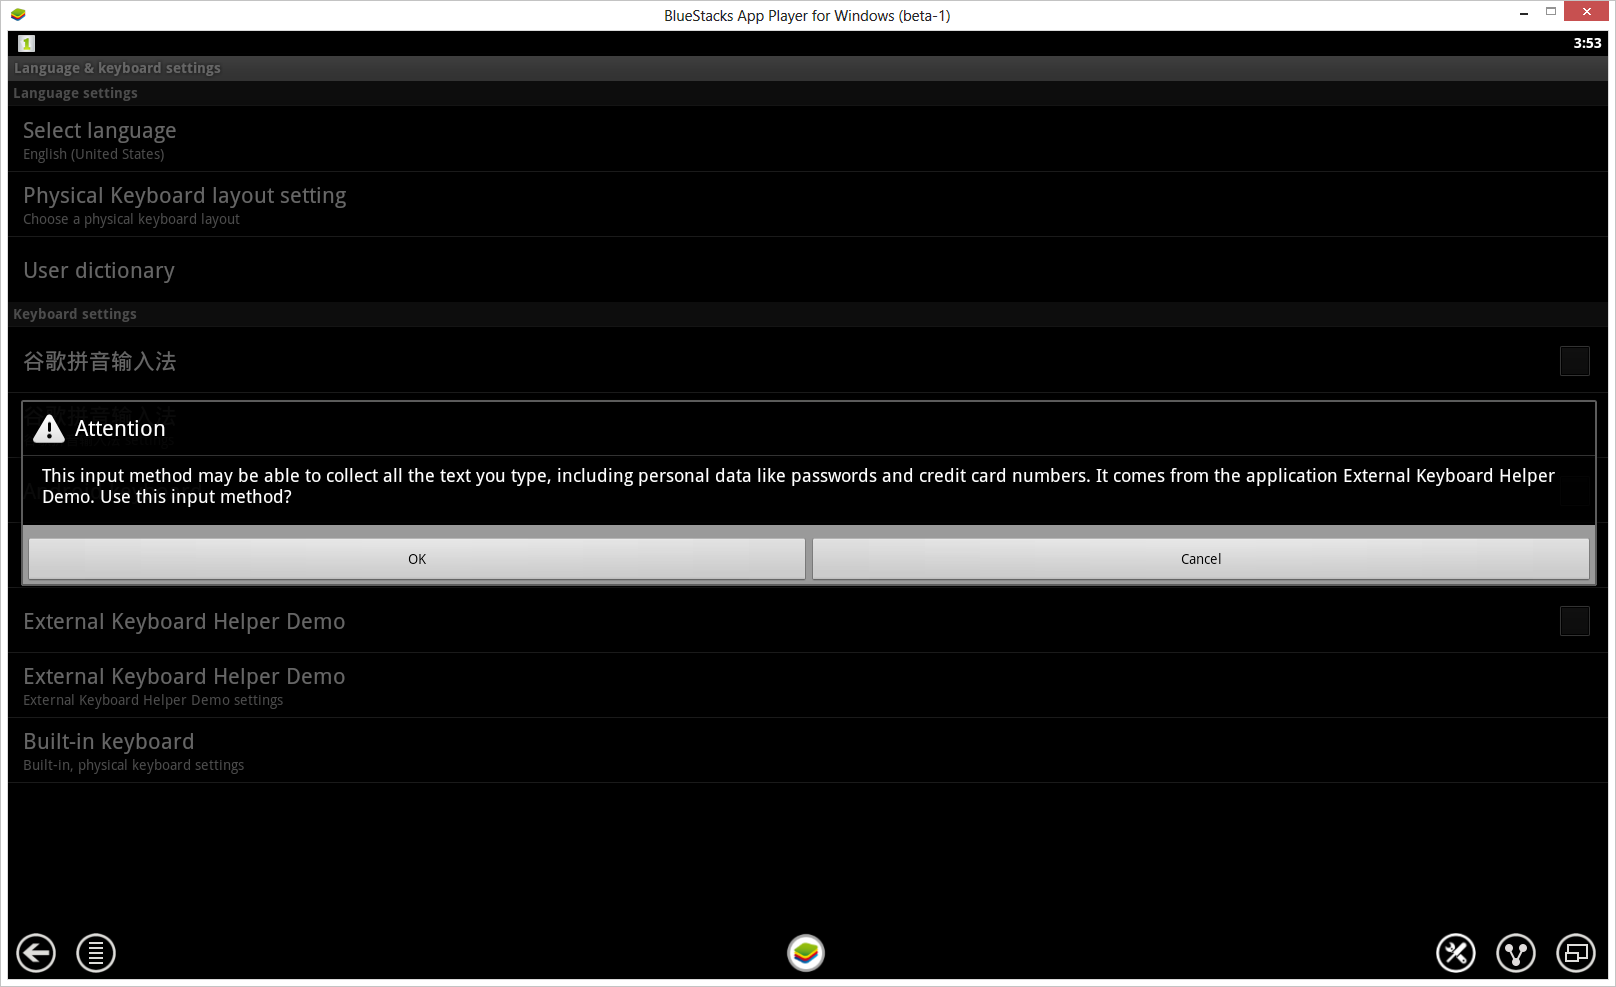
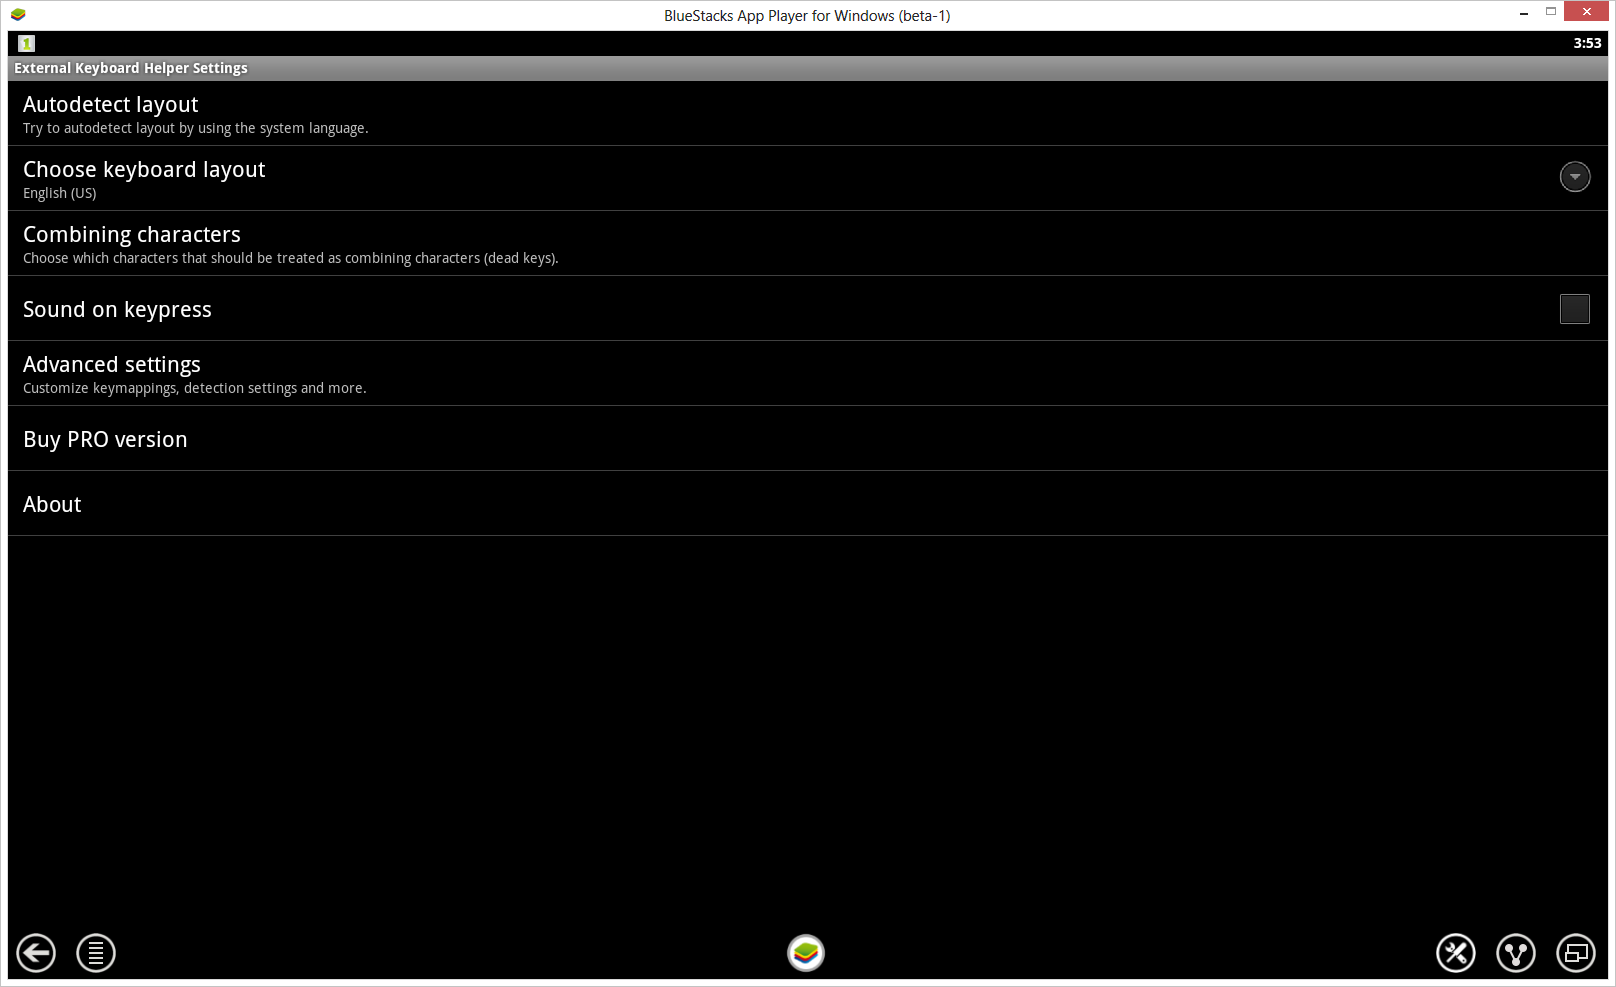
Aftet that, you can change the Mapping of your keyboard by clicking over “External Keyboard Helper Demo Settings” under the same where you ticked the box. Inside of it you can find all the options you may need.
And that’s it!
I hope you’ll find this post useful. If you know other ways of getting the mapping of your external keyboard without using such this app (but also easily done without writing the keyboard mapping file manually) write it down here and i’ll be glad to edit this post with your method too!
Thank you for reading and share if you like :)